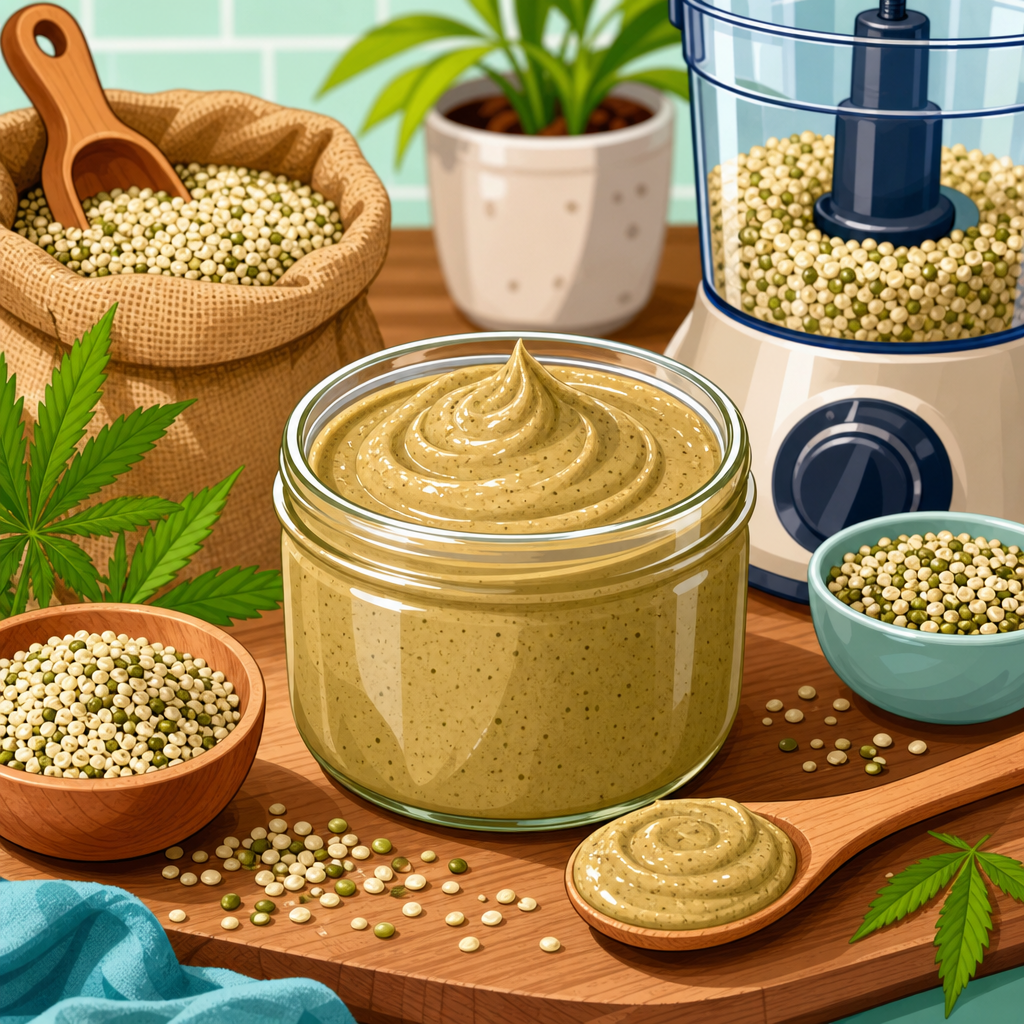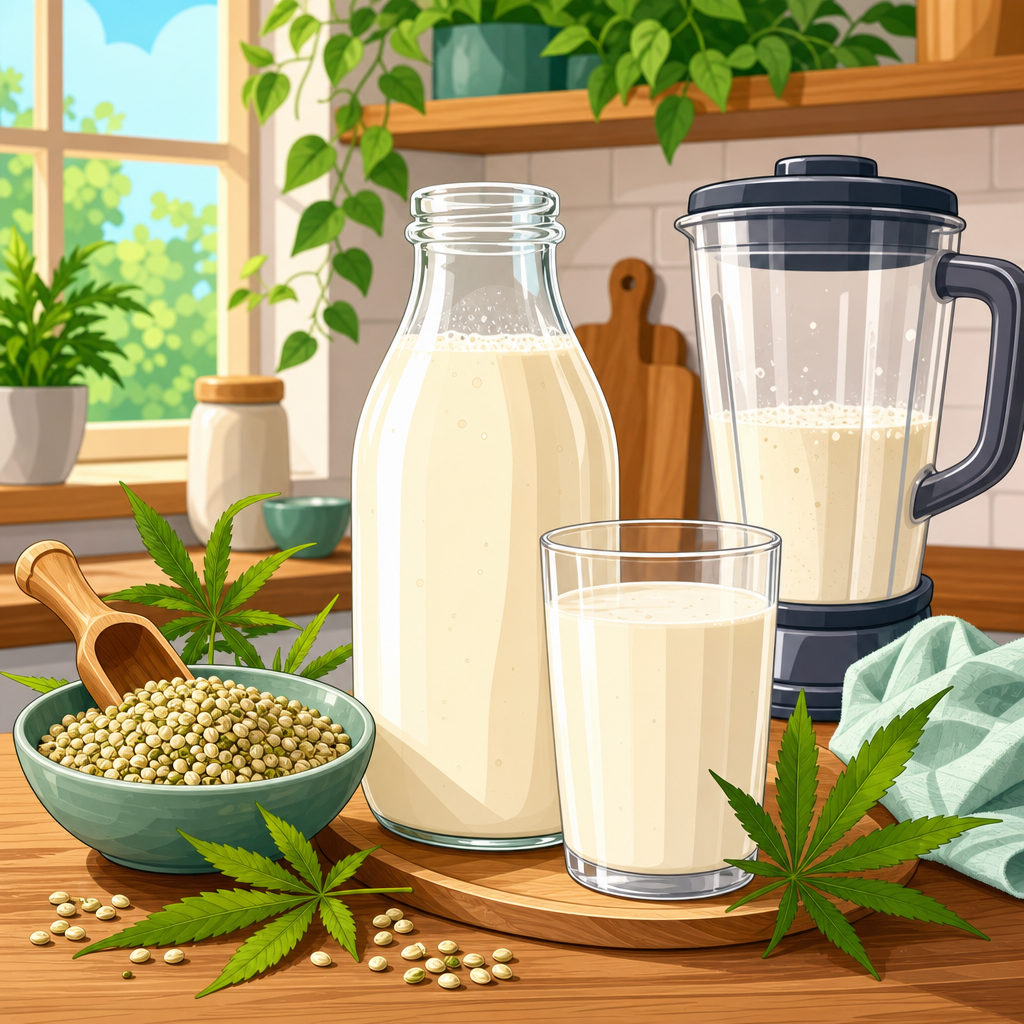
Making your own hemp milk at home is one of the simplest ways to control ingredients, save money, and build a practical foundation for DIY hemp food products. Hemp milk is a plant-based beverage made by blending hemp seeds with water, then adjusting texture and flavor with optional add-ins such as dates, vanilla, cocoa, or sea salt. Unlike almond milk, it usually does not require soaking, and unlike oat milk, it is less likely to turn slimy when heated correctly. For anyone exploring hemp products and reviews, homemade hemp milk is a smart starting point because it demonstrates how versatile hemp seeds can be in everyday cooking.
When I test homemade plant milks, I look at four things first: flavor, texture, nutritional value, and workflow. Hemp milk performs well on all four. Hulled hemp seeds, often sold as hemp hearts, blend quickly because their fibrous outer shell has already been removed. That means most home cooks can make a drinkable batch in under five minutes with a standard countertop blender. The flavor is mildly nutty and grassy, but far less assertive than some seed-based milks. In practical kitchen use, it works in smoothies, coffee, overnight oats, pancake batter, creamy soups, and baking recipes that need a dairy-free liquid.
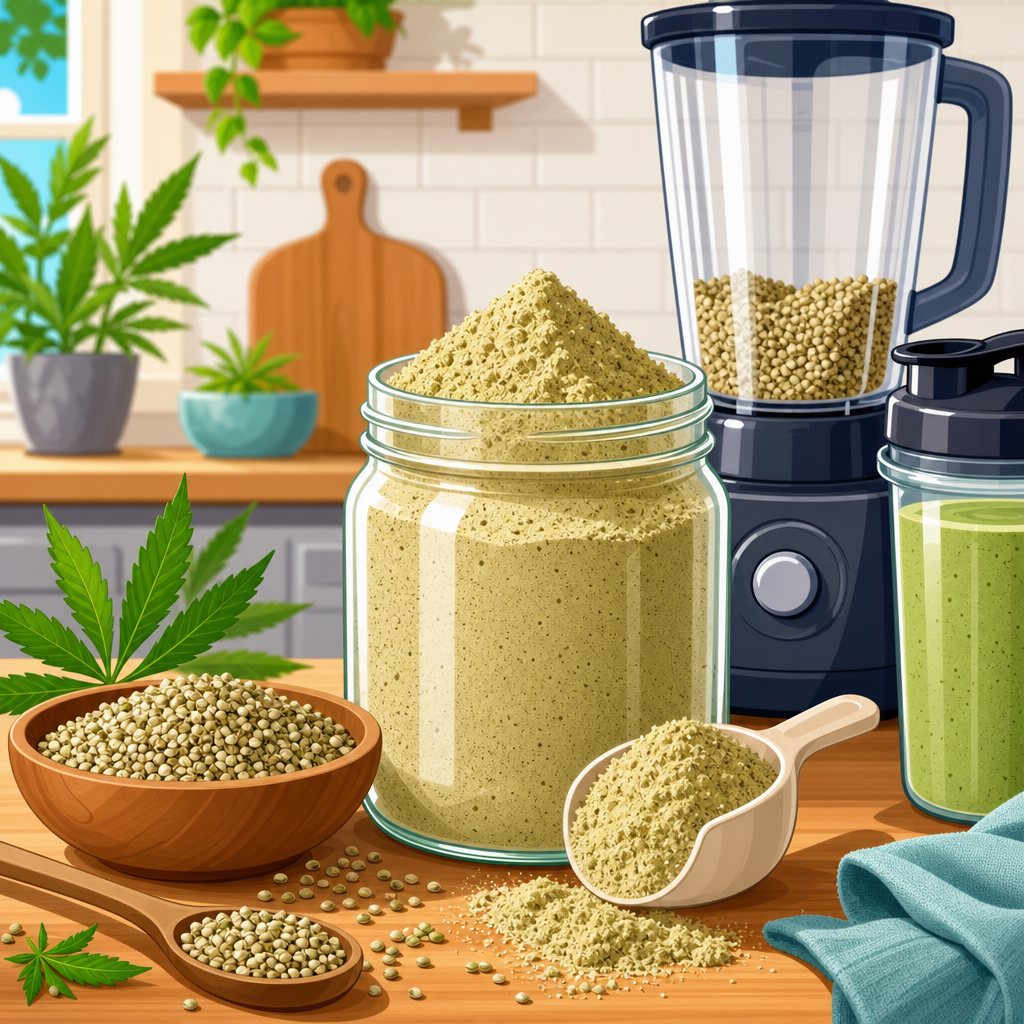
It also matters because hemp seeds are nutritionally distinctive. They contain protein, unsaturated fats, and minerals including magnesium and phosphorus. They are particularly known for providing omega-3 and omega-6 fatty acids in a ratio often discussed in nutrition circles as favorable for a balanced diet. Homemade versions do not automatically match the vitamin fortification found in some commercial cartons, but they avoid stabilizers, gums, and sweeteners that many people would rather skip. If you want a cleaner label, lower cost per serving, and more control over taste, homemade hemp milk is worth learning.
This article serves as a hub for DIY hemp food products, using hemp milk as the anchor process that opens the door to creamers, yogurt-style bases, sauces, desserts, and blended nutrition drinks. By understanding ingredient selection, blending technique, storage, flavor development, and troubleshooting, you can move from one basic recipe to a whole category of homemade hemp foods with confidence.
What You Need to Make Hemp Milk at Home
The core recipe is minimal: hemp hearts and cold water. A reliable baseline is 1 cup hemp hearts to 3 to 4 cups water, depending on whether you want a richer or lighter milk. I generally recommend starting at 1 cup to 3.5 cups water because it produces a texture close to full-bodied store-bought plant milk while still pouring easily. Use filtered water if your tap water tastes chlorinated, because off-flavors show up immediately in simple recipes.
Your equipment matters, but you do not need anything specialized. A high-speed blender such as a Vitamix or Blendtec creates the smoothest result in 30 to 45 seconds, though a standard blender still works if you blend longer. Many recipes say straining is optional, and that is true when using hulled hemp seeds. If you want a cleaner mouthfeel for coffee or tea, strain through a nut milk bag, fine mesh sieve, or layered cheesecloth. Keep a glass bottle or jar with a tight lid for storage, because separation is normal and shaking before use is part of the routine.
Optional ingredients should be chosen with purpose, not added randomly. A date or two softens bitterness and rounds out flavor without making the milk taste sugary. Vanilla extract helps if you plan to use the milk in granola, cereal, or desserts. A small pinch of sea salt improves overall balance. Sunflower lecithin can improve emulsification, especially if you want the milk to behave better in coffee. Cinnamon, cacao, maple syrup, and even espresso powder can create flavored versions, but the unsweetened base should be mastered first because it is the most versatile ingredient for broader DIY hemp food products.
Step-by-Step Method for Smooth, Balanced Hemp Milk
The best method is straightforward. Add 1 cup hemp hearts and 3.5 cups cold water to the blender. Blend on high for about 45 seconds. Do not overblend for several minutes, because that can warm the mixture and exaggerate grassy notes. Taste it. If it seems flat, add a pinch of salt. If it tastes too earthy for your preference, blend again with 1 soft date or 1 teaspoon maple syrup and 1/4 teaspoon vanilla extract. For a more neutral culinary version, leave it plain.
Strain only if needed. In my kitchen tests, high-speed blenders produce a smooth enough result for oatmeal, smoothies, sauces, and baking without straining. For drinking straight from a glass, straining improves texture. For lattes, straining is especially helpful because fine particles can create sediment in the cup and interfere with foam quality. Once blended, transfer immediately into a clean bottle or jar and refrigerate. Most batches are best within three to five days, though the exact shelf life depends on temperature, sanitation, and whether sweeteners were added.
If you want consistency across batches, use a scale. Hemp hearts vary by brand and cup measurement can be imprecise. Weighing 150 grams hemp hearts to 825 to 900 grams water gives repeatable results. Professional kitchens rely on ratios because they scale cleanly. The same principle helps at home, especially if you plan to turn hemp milk into creamers, soups, puddings, or frozen desserts where texture affects the final recipe.
Best Ingredient Ratios and Flavor Variations
Different uses call for different ratios. Thin hemp milk works well in smoothies and cereal. Medium body is best for daily drinking and baking. Richer versions can stand in for light cream in some recipes. The table below shows practical ratios I use repeatedly when developing DIY hemp food products at home.
| Use | Hemp Hearts | Water | Optional Additions | Best For |
|---|---|---|---|---|
| Light hemp milk | 1 cup | 4 cups | Pinch sea salt | Smoothies, cereal, chia drinks |
| Standard hemp milk | 1 cup | 3.5 cups | 1 date, vanilla | Drinking, baking, oats |
| Barista-style base | 1 cup | 3 cups | 1 tsp sunflower lecithin | Coffee, matcha, chai |
| Hemp cream | 1 cup | 2 to 2.5 cups | Salt or savory seasoning | Soups, sauces, desserts |
Flavoring should match end use. For breakfast applications, vanilla, cinnamon, and date are reliable. For savory cooking, skip sweeteners and use plain hemp milk with a little salt. For chocolate hemp milk, blend in 1 tablespoon cocoa powder and sweeten lightly; cocoa also helps mask hemp’s natural grassy note. If you want a cleaner ingredient deck, use whole dates rather than syrups, but strain afterward for a smoother finish. The point is not to imitate dairy exactly. It is to build a hemp milk that performs well in the specific recipe you are making.
Nutrition, Cost, and How Homemade Compares to Store-Bought
Homemade hemp milk gives you direct control over concentration, and that changes both nutrition and cost. Commercial products often contain water first, then hemp, followed by gums, stabilizers, natural flavors, minerals, vitamins, and oils. Those additions are not inherently bad. Gellan gum, for example, helps suspend particles, and fortification with calcium and vitamin D may be useful. But many brands use relatively small amounts of hemp seed, which can make the drink thinner and less nutritionally dense than a homemade batch using a full cup of hemp hearts.
Cost depends on seed prices in your market, but homemade often becomes economical when hemp hearts are bought in larger bags. If a 2-pound bag costs around $14 to $18 in a warehouse club, natural foods store, or online bulk purchase, each cup of seeds may cost noticeably less than buying premium plant milk cartons every week. The tradeoff is labor and shelf life. Homemade milk lacks industrial homogenization and sterile packaging, so it separates and spoils faster. That is normal, not a defect.
Nutrition labels vary too much by brand to make a single blanket claim, but homemade hemp milk made with generous seed ratios usually provides more fat and protein per cup than highly diluted versions. What it may not provide is consistent fortification. If calcium and vitamin D are major reasons you buy plant milk, read labels carefully and balance the rest of your diet accordingly. A homemade beverage can be fresher and simpler, while a store-bought one can be more convenient and nutritionally standardized. The right choice depends on your goals, and many households use both.
Troubleshooting Texture, Separation, and Flavor Problems
The most common question is, why did my hemp milk separate? The answer is simple: because homemade plant milk is an emulsion without commercial stabilizers. Fat, protein, and water naturally drift apart over time. Shake before pouring. If separation is extreme, improve emulsification by blending a little longer, using colder water, or adding a small amount of sunflower lecithin. A high-speed blender also reduces particle size, which improves suspension.
If the milk tastes bitter, the seeds may be old, oxidized, or stored improperly. Hemp hearts contain delicate fats that can go rancid. Buy from a brand with good turnover, check expiration dates, and store opened packages in the refrigerator or freezer. If the flavor is too grassy but not spoiled, reduce the seed concentration slightly and add vanilla, date, or cocoa. If the texture is chalky, strain it or upgrade your blender technique. Pulse to break down the seeds, then blend on high briefly rather than blending unevenly at low speed.
Heating can create confusion too. Hemp milk can work in hot drinks and soups, but boiling may split the emulsion or intensify earthy notes. Warm it gently over low heat and avoid prolonged high temperatures. In coffee, acidity can occasionally cause curdling, especially with very light homemade versions. A richer ratio, finer straining, and a small amount of lecithin improve performance. These are not gimmicks; they are standard emulsion management steps used across professional beverage development.
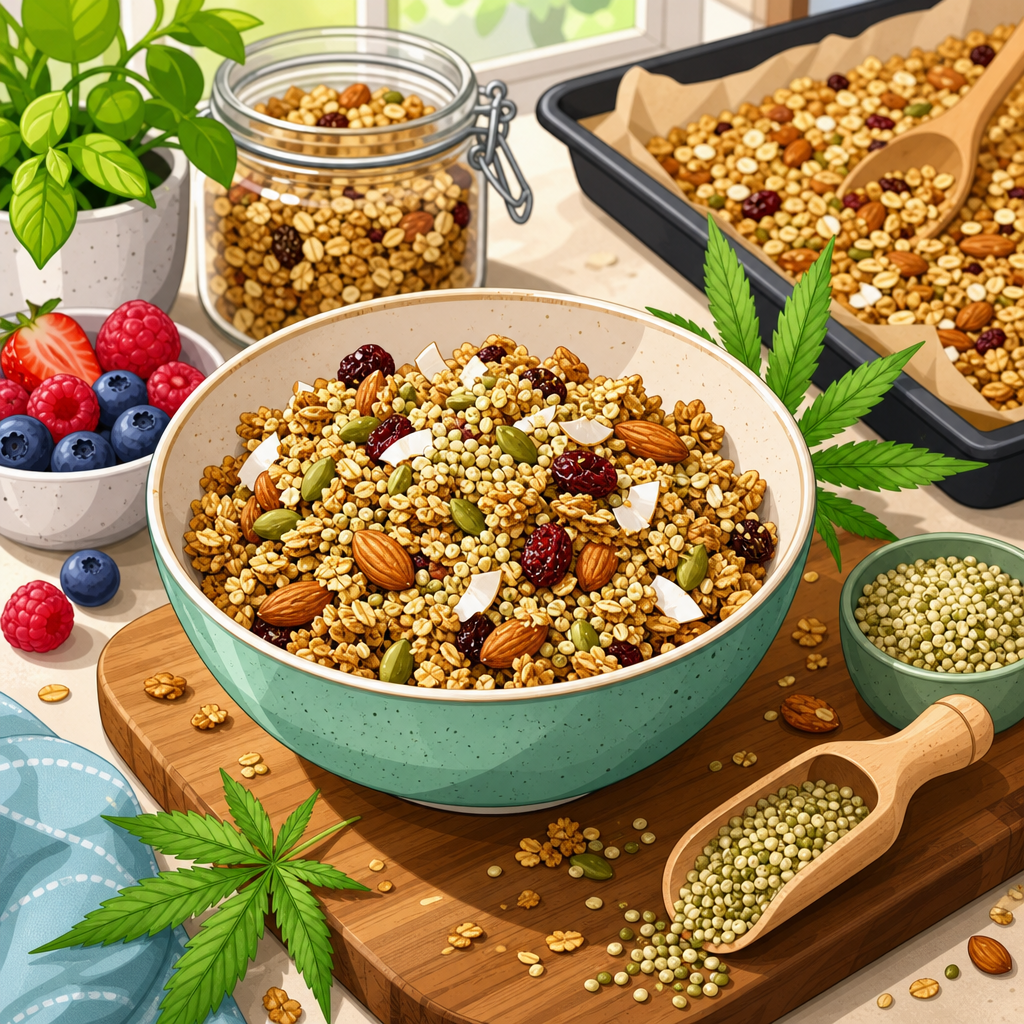
Using Hemp Milk as a Hub for DIY Hemp Food Products
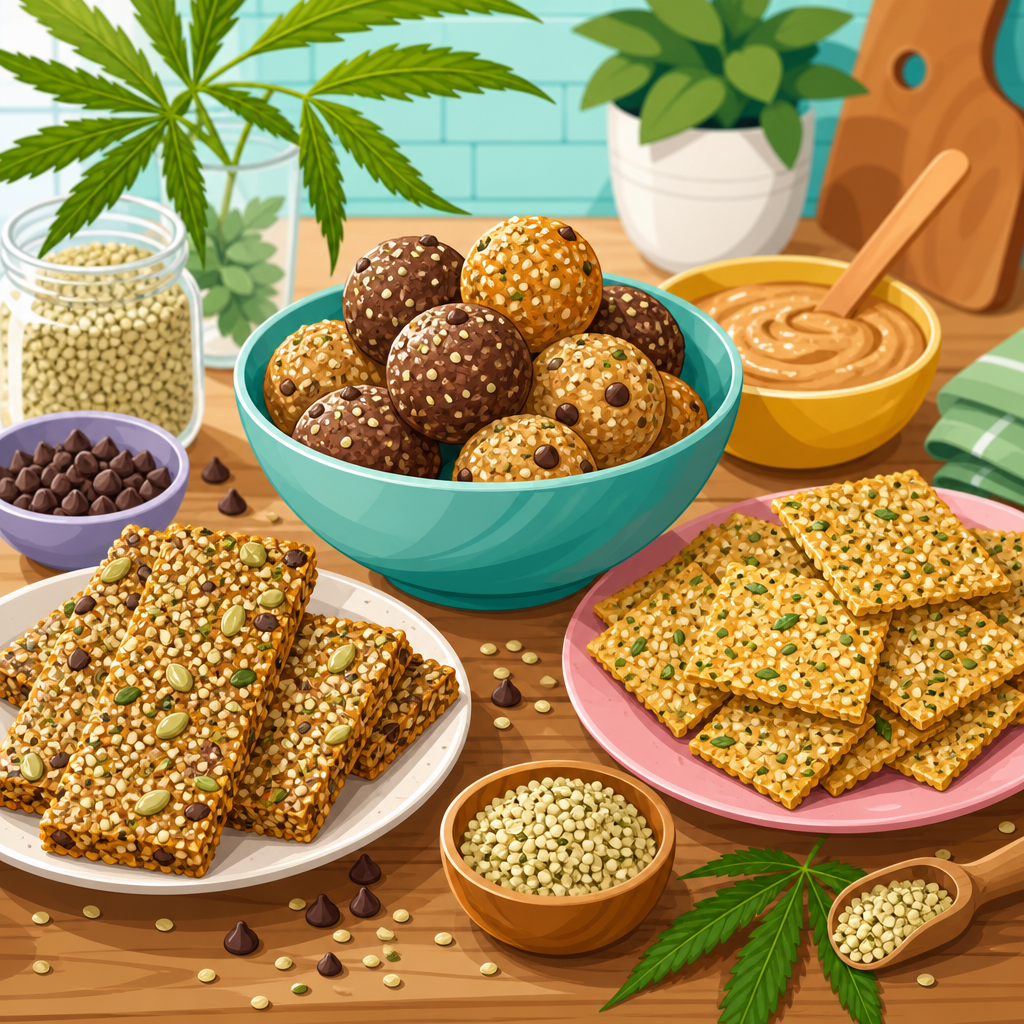
Once you can make a solid basic hemp milk, you can branch into an entire family of DIY hemp food products. Blend a richer batch with probiotic culture and a thickener such as tapioca starch or agar-based support, and you have the beginnings of a yogurt-style experiment. Simmer plain hemp milk with roasted vegetables and stock, and it becomes a creamy soup base. Reduce water and add nutritional yeast, garlic, and lemon for a dairy-free savory sauce. Churn a sweetened version in an ice cream maker for frozen desserts, or use it in puddings with chia or cornstarch.
This is why hemp milk works well as a hub topic. The base process teaches ingredient handling, seed freshness, emulsification, sweetening strategy, and storage safety, all of which transfer to adjacent recipes. If you are building a home hemp pantry, start with plain milk, then test unsweetened creamer, chocolate hemp milk, smoothie packs, hemp hot cocoa, savory cooking cream, and overnight oat jars. Keep notes on seed brand, ratio, blend time, and taste after 24 hours. In my experience, that simple documentation improves results faster than chasing dozens of inconsistent internet recipes.
For next steps, make one base batch this week and use it three ways: drink it plain, cook with it, and compare it to a carton brand you know well. That side-by-side test will tell you exactly what to adjust. Homemade hemp milk is easy, flexible, and genuinely useful, and it is the most practical entry point into DIY hemp food products for any kitchen.
Frequently Asked Questions
1. What do I need to make hemp milk at home?
At its most basic, homemade hemp milk only requires two ingredients: hemp seeds and water. A standard starting ratio is about 1 cup of shelled hemp seeds to 3 to 4 cups of water, depending on how rich or light you want the final milk to be. You will also need a blender, and if you prefer an extra-smooth texture, a nut milk bag, fine mesh strainer, or cheesecloth can be helpful. One of the biggest advantages of hemp milk is that it is very beginner-friendly, because hemp seeds are naturally soft and blend easily, so there is usually no soaking step required.
Beyond the basics, you can customize the flavor with simple add-ins such as dates for sweetness, vanilla extract for a classic milk-like flavor, cocoa powder for a chocolate version, or a small pinch of sea salt to round everything out. Some people also add cinnamon, maple syrup, or a little coconut for richness. If your goal is to build a practical foundation for making more DIY hemp food products, learning this base recipe is a smart starting point because it teaches you how hemp behaves in liquid form, how texture changes with blending time, and how small ingredient adjustments can change the final result.
2. Do I have to strain homemade hemp milk?
Not always. One of the reasons homemade hemp milk is so popular is that it can often be made and used without straining, especially if you are using hulled hemp seeds and a high-speed blender. The blended milk is usually smoother than many other homemade plant milks, and for everyday use in smoothies, coffee, cereal, or baking, many people find the texture perfectly acceptable straight from the blender. This is a major difference from homemade almond milk, which usually leaves behind more pulp and typically benefits from straining for a cleaner finish.
That said, straining can still improve the texture if you want a silkier, more polished beverage. If you plan to drink the hemp milk plain, serve it chilled, or use it in recipes where mouthfeel matters, passing it through a nut milk bag or fine strainer may be worth the extra step. A good approach is to test a small batch both ways. If you like a fuller-bodied, more rustic milk, leave it unstrained. If you want a smoother result, strain it once and press gently rather than aggressively squeezing out every last bit, which can push more sediment into the milk. Either method is correct; it simply depends on your texture preference and intended use.
3. How can I make homemade hemp milk taste better?
The best way to improve the taste of homemade hemp milk is to treat the plain version as a base and then build flavor intentionally. On its own, hemp milk has a mild, nutty, slightly earthy taste. Some people enjoy that natural flavor immediately, while others prefer a sweeter or more familiar profile. A very effective formula is to add a date or two, a splash of vanilla extract, and a tiny pinch of sea salt. That combination softens the earthiness, adds balance, and creates a more rounded flavor without overwhelming the hemp itself. If you want a dessert-style version, cocoa powder and a sweetener can turn it into a chocolate hemp milk that works well for kids or anyone easing into plant-based milks.
Texture also affects flavor perception, so blending thoroughly matters. If the milk is under-blended, it can taste thinner and less integrated. Blend long enough for the seeds and water to fully combine into a creamy mixture, usually 30 to 60 seconds depending on your blender. Water ratio is another major factor. Too much water can make the milk seem bland, while too little can make it overly heavy. Start with a balanced ratio, then adjust after your first batch. Over time, you can fine-tune sweetness, salt, richness, and thickness to suit your household. This is one of the biggest benefits of making hemp milk at home: you are not locked into a store-bought formula and can create a version that tastes exactly the way you want.
4. How long does homemade hemp milk last, and how should I store it?
Homemade hemp milk is best stored in a clean, sealed container in the refrigerator and is generally best used within 3 to 5 days. Because it does not contain the preservatives, stabilizers, or ultra-processing methods commonly used in commercial plant milks, it has a shorter shelf life. A glass jar or bottle with a tight-fitting lid works especially well. It is normal for separation to occur during storage, so do not assume it has gone bad just because layers form. Usually, a quick shake is all it takes to bring it back together.
To keep the milk as fresh as possible, refrigerate it promptly after making it and avoid leaving it at room temperature for long periods. If you added dates or other fresh ingredients, that can sometimes shorten its ideal storage window slightly, so using it sooner is a good idea. Always rely on common freshness checks before drinking: smell it, look for unusual texture changes, and taste a small amount if needed. If it smells sour, appears off, or tastes unpleasant, discard it. Many people prefer making smaller batches more often rather than one large batch, since hemp milk is so quick to prepare. That approach helps maintain freshness and keeps flavor and texture at their best.
5. What is homemade hemp milk best used for?
Homemade hemp milk is extremely versatile and can be used in many of the same ways as other plant-based milks. It works well in smoothies, overnight oats, chia pudding, cereal, and many baked goods. It can also be used in sauces, soups, and creamy blended recipes where a mild plant-based liquid is needed. Because it does not usually require soaking and can be made quickly, it is especially practical for people who want a simple homemade staple they can prepare on demand. If you are exploring homemade hemp foods more broadly, hemp milk is often one of the easiest entry points because it introduces you to balancing hemp flavor, texture, and consistency without complicated processing.
It can also be used in coffee or tea, although heating plant milks always requires a little care. Hemp milk is generally less likely than oat milk to become slimy when heated properly, but gentle warming is still best. Avoid boiling it aggressively, especially if your recipe includes sweeteners or flavorings that may affect stability. For savory cooking, use an unsweetened version with little or no vanilla. For breakfast and drinks, a lightly sweetened version may be ideal. Once you understand how to make and adjust the base recipe, homemade hemp milk becomes more than just a beverage. It becomes a flexible ingredient you can adapt to a wide range of everyday uses in a practical, cost-conscious home kitchen.