Hemp flour is a nutrient-dense, mildly nutty ingredient made by grinding hemp seeds or pressing and milling the seed cake left after oil extraction, and learning how to make hemp flour from scratch gives home cooks direct control over freshness, texture, cost, and ingredient quality. In practical kitchen terms, hemp flour is not the same as all-purpose flour: it is lower in starch, higher in protein and fiber, naturally gluten-free, and best used as a partial flour substitute in pancakes, muffins, flatbreads, smoothies, homemade protein bites, and rustic baking blends. I have made small-batch hemp flour both from whole hulled hemp hearts and from defatted meal after pressing hemp oil, and the difference matters. Flour made from hemp hearts is richer and softer but more prone to clumping because of its oil content. Flour made from defatted meal is drier, finer, and usually easier to store. For anyone exploring DIY hemp food products, this skill is foundational because it teaches seed selection, moisture management, grinding technique, and storage discipline that apply across homemade hemp protein powder, hemp meal mixes, and seed-based baking ingredients.
Understanding the basic terms helps avoid common mistakes. Hemp hearts are shelled hemp seeds with the outer hull removed. Whole hemp seeds include the hull, which adds insoluble fiber but also creates a coarser, grittier flour unless you use a powerful mill. Defatted hemp meal is the solid material left after oil extraction, and it is the closest home version to many commercial hemp flours. Because hemp contains unsaturated fats, oxidation is the central quality issue. Heat, light, air, and moisture shorten shelf life and can turn a sweet, grassy aroma into a bitter, paint-like smell. That is why making hemp flour at home matters: you can process only what you need, keep it cold, and match grind size to the recipe. For a sub-pillar hub on DIY hemp food products, hemp flour is the starting point because it connects ingredient prep, nutrition, equipment, and recipe performance in one repeatable process.
What You Need Before You Start
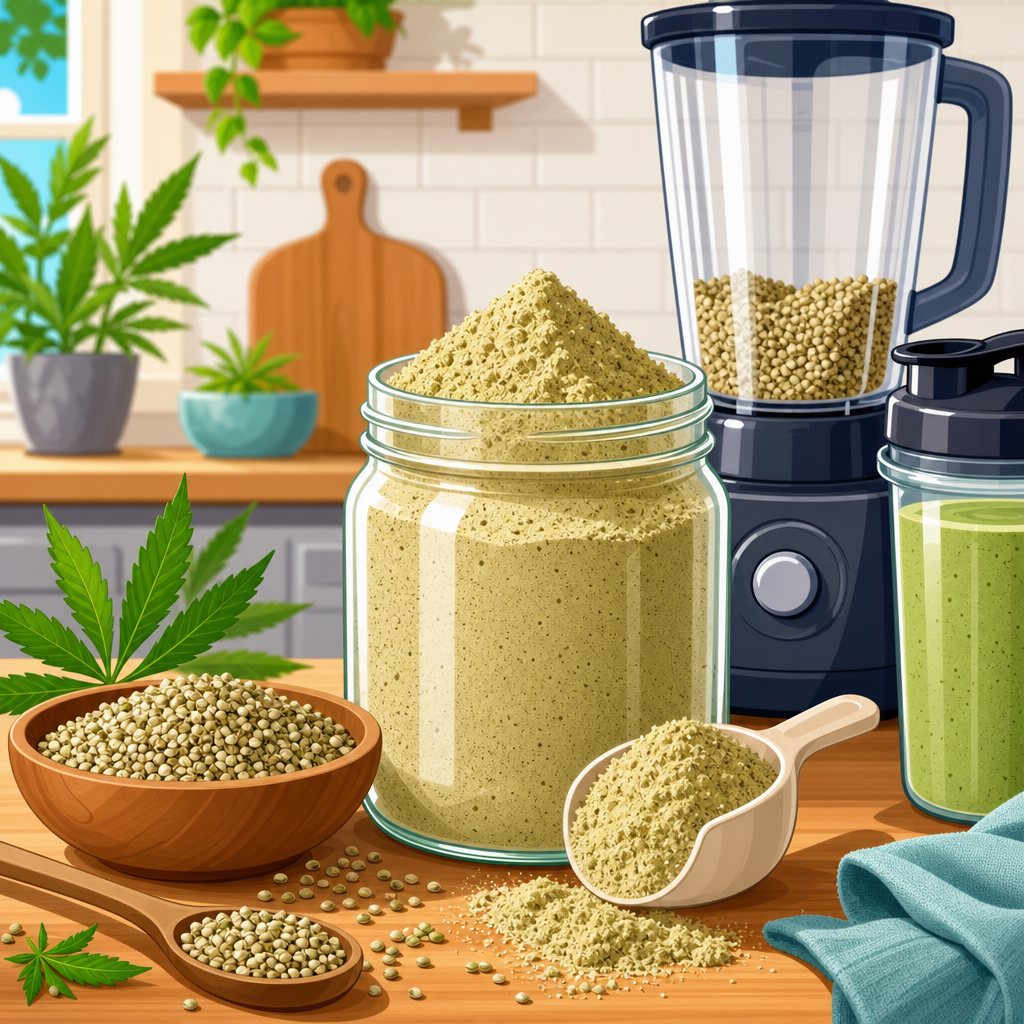
To make hemp flour from scratch, you need raw material, a grinder, a sifting method, and airtight storage. The best starting ingredient for most kitchens is fresh hemp hearts from a reputable supplier with a recent packaging date. If you already make hemp oil at home with a manual or electric oil press, save the pressed seed cake and use that as your flour base. A high-speed blender can work for small batches, but I get more consistent results from a coffee grinder, spice grinder, burr-style dry grinder, or grain mill with an oily-seed-safe setting. Standard flour mills can clog when seeds are too oily, so always check the manufacturer guidance. A fine-mesh sieve, silicone spatula, sheet pan, parchment, and glass jar with a tight lid complete the setup.
Seed quality determines flour quality. Look for cream to green-tan hemp hearts with a clean, nutty smell. Avoid lots that smell sour, fishy, or stale. If using whole hemp seeds, inspect for excess dust, broken hulls, or moisture condensation inside the bag. Food safety also matters. Hemp seeds sold for culinary use should come from food-grade processors that follow standard sanitation and labeling practices. In the United States, hemp ingredients are generally sold under federal and state rules governing food products, while in Europe suppliers commonly reference food safety systems such as HACCP and ISO-based quality controls. Those labels do not guarantee flavor, but they do indicate a more reliable processing chain. Starting with clean, dry, food-grade seeds reduces spoilage risk and improves flour consistency.
Temperature control is the overlooked variable. Because hemp is fat-rich, friction from grinding can warm the meal quickly and cause smearing instead of milling. I routinely chill hemp hearts in the refrigerator for several hours or freeze them for twenty to thirty minutes before grinding. Cold seeds fracture better, produce a lighter texture, and preserve flavor. If your kitchen is warm, chill the grinder cup too. This one step solves many beginner complaints about paste formation.
Step-by-Step: How to Make Hemp Flour from Scratch
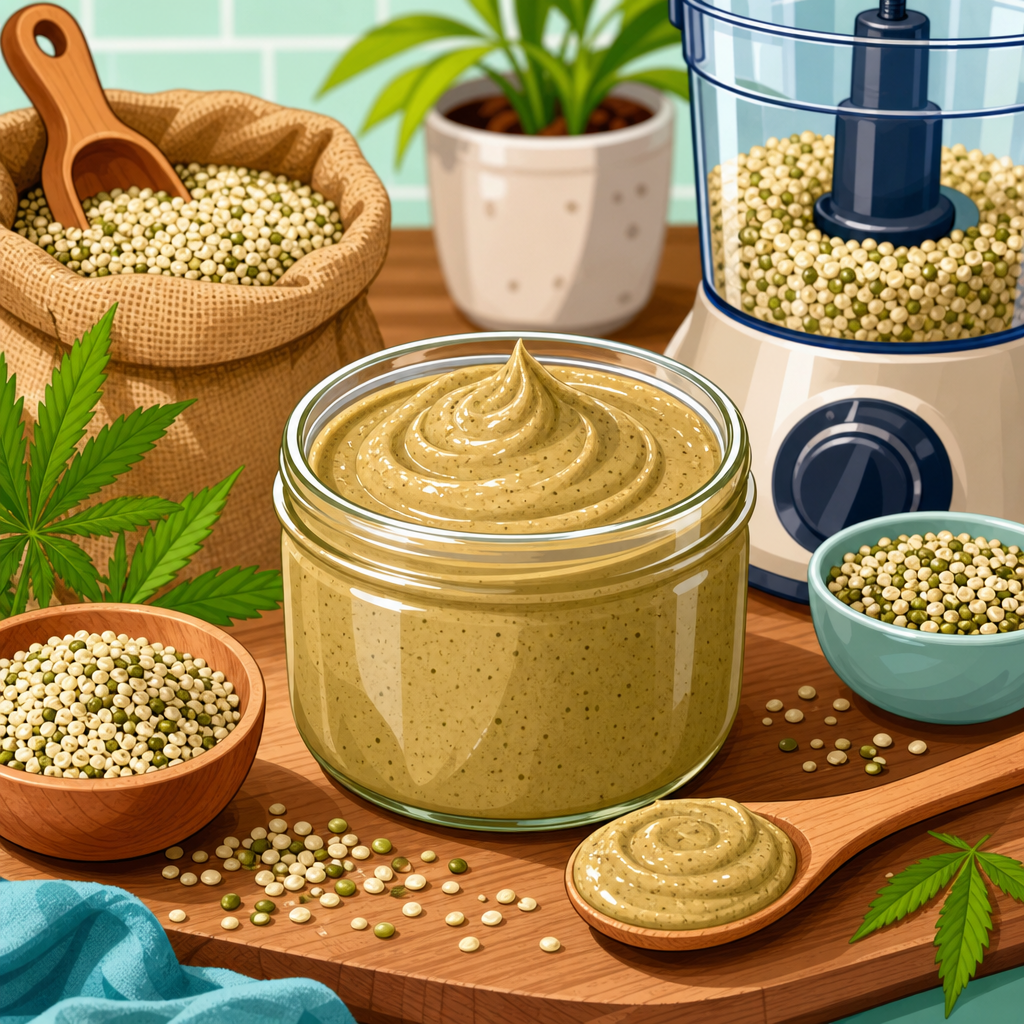
The simplest method is a cold-grind and sift process. Start with one to two cups of chilled hemp hearts or thoroughly dried pressed hemp meal. Work in small batches rather than filling the grinder to the top; half-full is usually ideal because it allows particles to circulate. Pulse for ten to fifteen seconds, stop, shake the grinder, then pulse again. Avoid long continuous runs that build heat. Once the material looks sandy and uniform, pass it through a fine-mesh sieve into a bowl. Return larger particles to the grinder and repeat until most of the batch passes through. This produces a soft hemp flour suitable for blending into baked goods and breakfast recipes.
If you want a more traditional, lower-fat hemp flour, start with defatting. Pressing hemp hearts through a home oil press removes a significant share of the oil and leaves a compact cake. Break the cake into pieces, dry it thoroughly if it feels warm or slightly moist from processing, then grind and sift it. In my tests, defatted meal yields a flour closer to commercial hemp flour because it flows better, stores longer, and incorporates more evenly into batter. The tradeoff is extra equipment and time. For most households, full-fat flour from hemp hearts is easier, while defatted flour is better for frequent bakers.
Drying is important whenever the seeds or pressed meal have picked up surface moisture. Spread the material in a thin layer on a parchment-lined tray and use the lowest oven setting, ideally below 170 degrees Fahrenheit, for fifteen to thirty minutes, stirring once. A dehydrator at low temperature works even better because it reduces moisture without cooking the seed solids. Let everything cool completely before grinding. Warm meal traps steam in storage, and trapped steam shortens shelf life fast.
| Method | Main Ingredient | Texture | Shelf Life | Best Uses |
|---|---|---|---|---|
| Full-fat grind | Hemp hearts | Soft, slightly rich | Shorter | Smoothies, pancakes, muffins |
| Whole-seed grind | Whole hemp seeds | Coarser, fiber-heavy | Moderate | Rustic breads, crackers |
| Defatted meal grind | Pressed seed cake | Drier, finer | Longer | Baking blends, protein mixes |
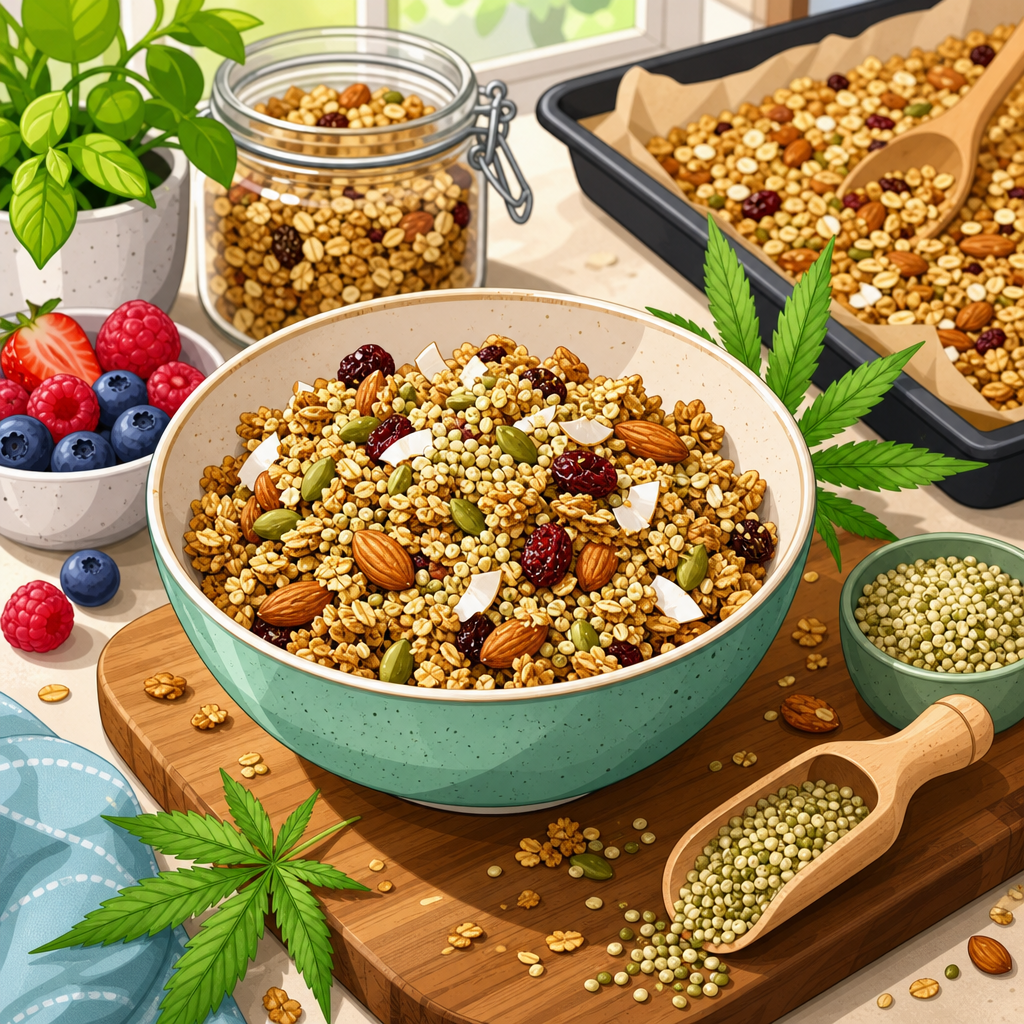
How fine should the flour be? For baking, aim for a particle size similar to almond flour or slightly finer. For porridge, granola bars, or energy bites, a coarser meal is acceptable and often tastes better. If your grinder struggles, do two short grinding cycles separated by a rest period. That pause is not wasted time; it prevents oil release and keeps the flour powdery. Once milled, package it immediately in an airtight jar, press out excess air if using a pouch, label the date, and refrigerate.
Choosing Between Hemp Hearts, Whole Seeds, and Press Cake
Each raw material produces a different result, so the best choice depends on the recipe and your equipment. Hemp hearts are the easiest option because they are already hulled and grind quickly. Their flavor is mild, slightly buttery, and broadly useful in sweet or savory foods. The downside is fat content. More oil means shorter shelf life and more risk of turning into paste during grinding. I use hemp-heart flour when I want tenderness in banana bread, waffles, or blender pancakes, where the natural oil supports moisture retention.
Whole hemp seeds give you more fiber because the hull remains intact, but the texture is rougher and darker. This is not automatically a flaw. In seeded crackers, hearty flatbreads, and rustic loaf blends, the extra texture can be an advantage. However, a weak grinder often leaves sharp hull fragments that feel gritty on the palate. If you only have a basic blender, whole seeds are usually not the best path to fine flour. A burr grinder or impact mill handles them better, though even then sifting is necessary.
Pressed seed cake is the most efficient material if you are committed to making several DIY hemp food products. After oil pressing, you have two ingredients instead of one: hemp oil and hemp meal. The meal contains concentrated protein and fiber because much of the fat has been removed. That makes it ideal for flour blends, homemade protein powder bases, and savory coating mixes. The challenge is process control. Some home presses produce cake with uneven residual oil and moisture. If one section is damp and another is dry, the final flour will be inconsistent. Breaking, drying, and regrinding in stages solves that problem.
Cost also varies. Hemp hearts usually cost more per pound than whole seeds, while press cake becomes economical only if you already value the oil. In many kitchens, the practical decision is to begin with hemp hearts, master the grind, then expand into whole-seed or defatted versions as your recipes become more specific. That progression mirrors how many home cooks build confidence with seed flours generally.
Nutrition, Flavor, and Baking Performance
Hemp flour stands out nutritionally because it contributes plant protein, dietary fiber, minerals, and beneficial fats, though exact values depend on whether the flour is full-fat or defatted. Commercial references commonly show defatted hemp flour as substantially higher in protein and fiber than wheat flour, while full-fat homemade flour carries more calories from oil and a richer mouthfeel. Hemp also contains magnesium, iron, zinc, and manganese, plus omega-6 and omega-3 fatty acids in ratios often discussed in sports nutrition and plant-forward diets. Those benefits are real, but they do not make hemp flour a one-for-one replacement for wheat flour. The low starch and lack of gluten change structure, browning, and water absorption.
Flavor is easier to predict than texture. Good hemp flour tastes nutty, earthy, and faintly grassy. Poor hemp flour tastes bitter, dusty, or oxidized. When blending it into baked goods, start by replacing ten to twenty percent of wheat flour by weight. In muffins and quick breads, you can often push to twenty-five percent if the recipe includes eggs, yogurt, banana, or another moisture-retaining ingredient. For yeast breads, keep the substitution lower unless you also adjust hydration and structure with bread flour, psyllium, or eggs. In gluten-free baking, hemp flour works best as part of a blend with oat flour, rice flour, tapioca starch, or almond flour rather than as a standalone base.
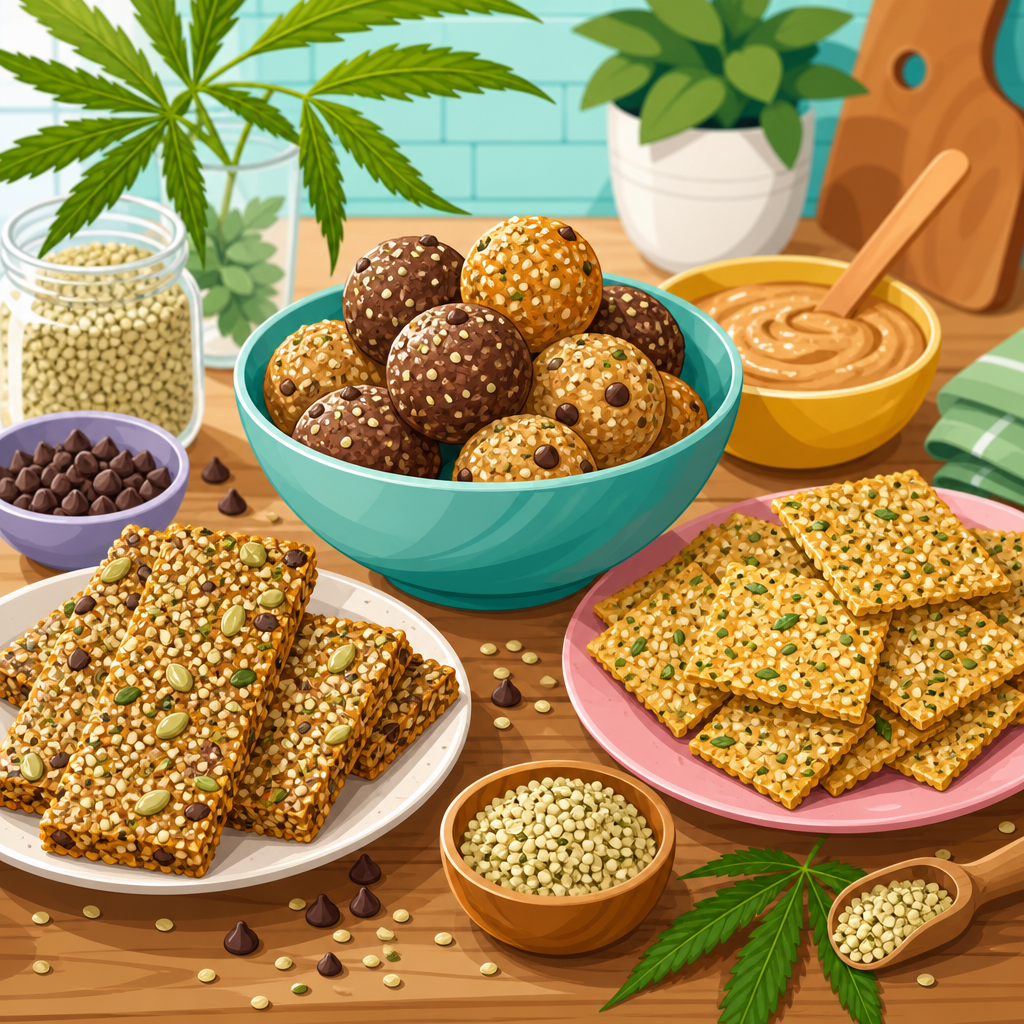
I have had the best results using hemp flour in three categories: breakfast batters, dense snack baking, and savory mixes. In pancakes, it adds color and protein without requiring major formula changes. In brownies or breakfast bars, its earthy notes complement cocoa, cinnamon, maple, and dates. In savory applications, it performs well in veggie burger binders, cracker doughs, and coating mixes for tofu or vegetables. The key is expectation. Hemp flour adds nutrition and flavor depth, but it does not create the airy crumb of refined wheat flour on its own.
Storage, Shelf Life, and Common Mistakes
The biggest mistake beginners make is treating homemade hemp flour like shelf-stable white flour. Because of its fat profile, especially in full-fat versions, hemp flour needs cold, dark storage. Refrigeration is the default. Freezing is better for larger batches. Use airtight glass jars or heavy barrier pouches, fill them as full as practical to reduce oxygen exposure, and always label the milling date. In my kitchen, full-fat hemp flour is best used within four to six weeks refrigerated, while defatted flour can last longer if it was dried properly and sealed well. If frozen, both forms keep quality longer, though texture is best when the flour is protected from condensation during thawing.
Watch for clear spoilage signals: bitter smell, paint-like aroma, visible moisture beads, clumping that feels damp rather than oily, or any sign of mold. If you are unsure, discard it. Another common problem is overgrinding. Once hemp starts releasing oil, the grinder cup develops a smeared coating and the batch moves toward butter rather than flour. Pulse in short bursts and stop early. Sifting solves more texture issues than extra grinding. Moisture is another culprit. If your flour clumps in storage after a day or two, it was either packed warm or not dry enough before milling.
One final point matters for this hub on DIY hemp food products: homemade ingredients work best when connected into a system. If you make hemp flour regularly, store seeds in bulk under cool conditions, rotate stock by date, clean grinder parts thoroughly to prevent rancid residue, and plan recipes that use the flour promptly. Then branch into related projects such as hemp protein blends, hemp baking mixes, or seed cracker bases. That workflow reduces waste and improves consistency across everything you make.
Making hemp flour from scratch is straightforward once you understand the variables that control quality: seed choice, temperature, grind size, moisture, and storage. Hemp hearts give the easiest path for beginners, whole seeds offer more fiber and a rustic texture, and pressed seed cake produces the driest, most bake-friendly flour for serious DIY use. The process itself is simple: chill, grind in short pulses, sift, dry if needed, and store cold. The payoff is better flavor, fresher nutrition, and more control over how hemp functions in your kitchen than most store-bought options can offer.
As a hub within DIY hemp food products, this topic matters because hemp flour is more than one ingredient. It is a gateway to understanding how hemp behaves in baking, how oil content affects shelf life, and how homemade seed ingredients can fit into practical everyday cooking. Used correctly, hemp flour improves pancakes, muffins, bars, crackers, and savory blends while adding protein, fiber, and a distinct nutty depth. Used carelessly, it can turn bitter, dense, or oily. Precision is what separates success from disappointment.
Start with a small batch this week, test it in one familiar recipe, and note how the flour changes flavor, texture, and moisture. From there, build your own hemp pantry one ingredient at a time.
Frequently Asked Questions
What exactly is hemp flour, and how is it different from regular flour?
Hemp flour is a nutrient-dense flour made from hemp seeds, either by grinding whole or hulled hemp seeds into a meal-like powder or by milling the pressed seed cake left after hemp oil extraction. Unlike all-purpose flour, which is primarily starch-based and designed to build structure in baked goods, hemp flour is naturally higher in protein, fiber, and healthy fats while being much lower in starch. That difference matters in the kitchen. Hemp flour does not behave like wheat flour, and it will not create the same light, elastic texture because it contains no gluten. Instead, it adds a mild nutty flavor, darker color, and a heartier texture to recipes.
For home cooks learning how to make hemp flour from scratch, this distinction is important from the start. If you use it as a direct one-to-one replacement for regular flour, the results are usually dense, crumbly, or dry. Hemp flour works best as a partial flour substitute in recipes like pancakes, muffins, quick breads, crackers, and some cookies, where its earthy flavor and nutritional value can shine without needing to do all the structural work on its own. In short, hemp flour is less of a universal flour and more of a specialty ingredient that boosts nutrition, flavor, and texture when used strategically.
How do you make hemp flour from scratch at home?
The simplest way to make hemp flour at home is to start with hemp seeds and grind them into a fine meal using a high-speed blender, spice grinder, grain mill, or food processor. Hulled hemp seeds are easier to work with and produce a softer, finer flour, while whole hemp seeds with hulls create a coarser, higher-fiber result. If you want a flour that is closer to traditional hemp flour sold commercially, the ideal method is to first reduce the oil content. This can be done by pressing the seeds for oil if you have the equipment, then drying the leftover seed cake thoroughly and grinding it into flour. That defatted version is typically lighter, more shelf-stable, and easier to use in baking.
If you are making it in a standard kitchen without an oil press, use small batches and pulse carefully to avoid turning the seeds into hemp butter. Hemp seeds contain natural oils, so over-processing creates a paste instead of flour. Chilling the seeds beforehand can help reduce this problem. After grinding, sift the mixture through a fine mesh sieve. The finer particles become your flour, while the larger bits can be reground. For best results, stop when the texture resembles a fine meal rather than pushing too far and releasing too much oil. Once finished, store homemade hemp flour in an airtight container in the refrigerator or freezer to protect it from rancidity and preserve freshness.
Can you use homemade hemp flour as a complete substitute for wheat flour in baking?
In most recipes, no. Homemade hemp flour is best used as a partial substitute rather than a complete replacement for wheat flour. Because it is gluten-free and low in starch, it does not provide the same structure, elasticity, or lift that wheat flour does. That means if you swap it in at 100 percent, your baked goods may turn out heavy, dense, fragile, or oily depending on how much fat remains in the flour. This is especially true for yeast breads, cakes, and pastries that rely on gluten development or a delicate crumb.
A more reliable approach is to replace about 10 to 25 percent of the regular flour in a recipe with hemp flour, then adjust based on the result. In forgiving recipes such as pancakes, muffins, waffles, brownies, and quick breads, you may be able to use a little more, particularly if the recipe already contains eggs, bananas, yogurt, or other ingredients that add binding and moisture. If you are baking fully gluten-free, hemp flour should usually be paired with other flours and starches such as oat flour, rice flour, tapioca starch, or potato starch to create better balance. Think of hemp flour as a nutritional and flavor-enhancing ingredient, not a standalone all-purpose flour replacement.
What is the best way to store homemade hemp flour, and how long does it last?
Because hemp flour contains natural oils, especially if it is made from ground hemp seeds rather than fully defatted seed cake, it is more perishable than conventional flour. Exposure to heat, air, moisture, and light can cause it to lose freshness and develop an off smell or bitter taste. The best storage method is an airtight container kept in the refrigerator for short-term use or in the freezer for longer storage. A glass jar or sealed freezer-safe container works well, and labeling it with the date helps you keep track of freshness.
Homemade hemp flour stored in the refrigerator is generally best used within a few weeks, though exact shelf life depends on how oily the flour is and how fresh the seeds were when you started. If frozen, it can last significantly longer while retaining quality. Always check for signs of spoilage before using it. Fresh hemp flour should smell mildly nutty and pleasant. If it smells sour, paint-like, stale, or unusually sharp, it has likely gone rancid and should be discarded. Making it in small batches is often the smartest approach, since that allows you to enjoy the benefits of freshness without worrying about waste.
What recipes work best with hemp flour, and how can you improve the texture when baking with it?
Hemp flour performs best in recipes where a slightly hearty texture and nutty flavor are welcome rather than a problem. Pancakes, muffins, waffles, quick breads, cookies, crackers, and energy bites are some of the easiest places to use it successfully. It also works well as a nutritious addition to smoothies, porridge, homemade protein blends, and breading mixtures for savory cooking. Since hemp flour is darker and more flavorful than refined flour, it pairs especially well with ingredients like banana, oats, cinnamon, cocoa, nuts, seeds, maple syrup, and honey.
To improve texture in baking, start by using hemp flour in moderation and combining it with a base flour that provides structure, such as all-purpose flour, oat flour, or a balanced gluten-free blend. Sifting the flour before mixing can help create a lighter texture, especially if your homemade batch is somewhat coarse. Because hemp flour is high in fiber, it can absorb moisture differently than standard flour, so recipes may benefit from slightly more liquid, an extra egg, or another binding ingredient like yogurt, applesauce, or mashed banana. Letting the batter rest for a few minutes before baking can also help hydrate the flour evenly. With a little adjustment, homemade hemp flour can add both substance and nutritional value without compromising the final result.